 Working with Colors and Fills
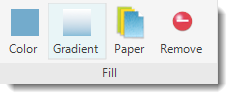
You can fill any element or shape that is created within Artisan with a color, gradient, or paper fill. These options are found in the Fill section of the Format ribbon.
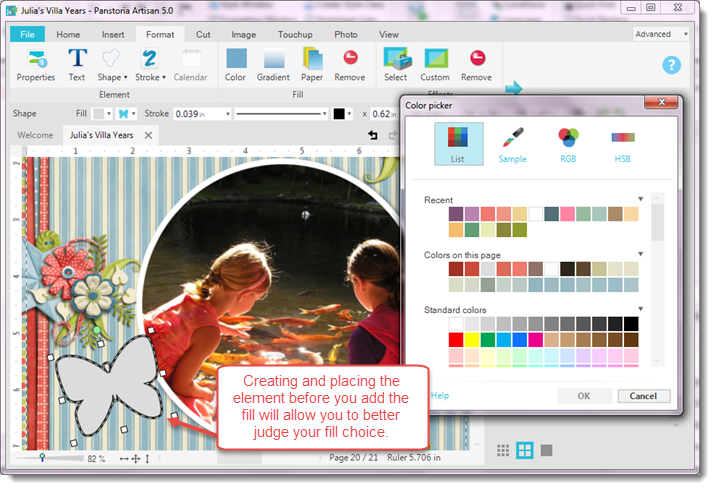
The most likely time that you will use colors and fills is right after you have inserted and placed
Understanding Color Palettes
Similar to painting in your studio (we all have one of those, right?), each project in Artisan has a set of colors, or palette. Think of the palette as the paints that you have open and are currently using. But just like working in a physical studio, you can always open more! The important thing to remember about your colors is that your project's theme colors are contained in the Art Kit(s) that you are using for your project. You can grab colors from as many art kits as you want, adding as you go.
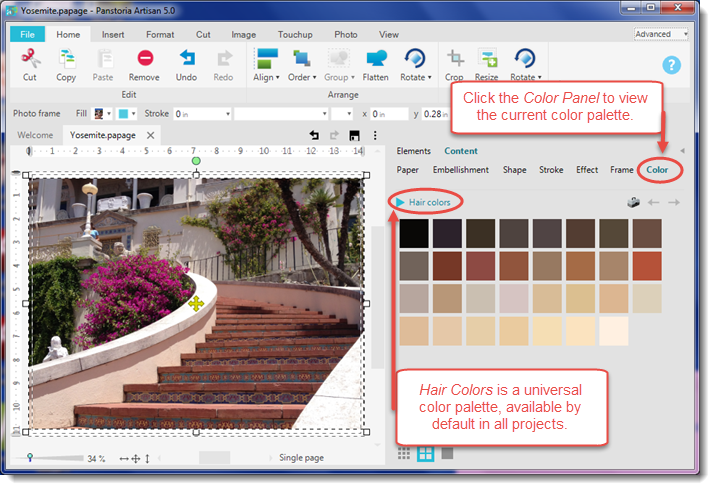
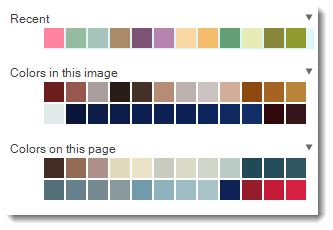
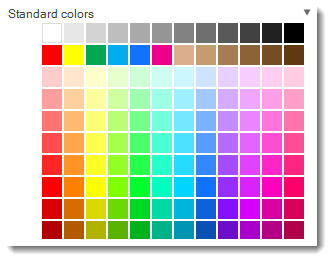
In addition to your theme colors, there are default palettes that may appear, depending on what you have selected to view. Standard, Skin and Hair colors appear on most screens, and there are other standard palettes, depending on what is selected.

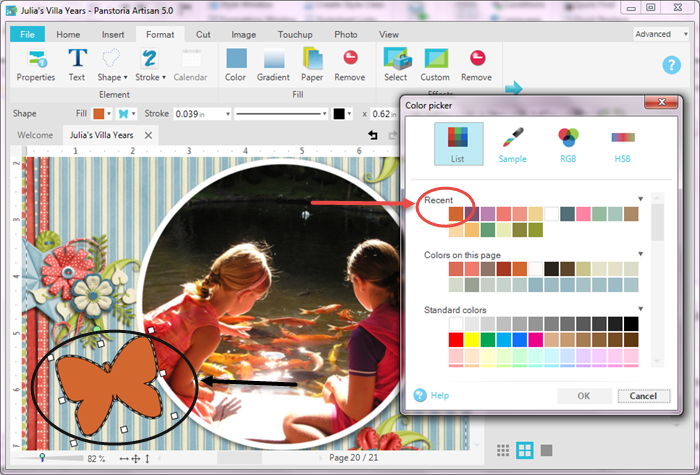
The Color Picker
All color applications in Artisan use a tool called the Color Picker to choose, edit, or create colors. See Using the Color Picker for general information.
Understanding Fills
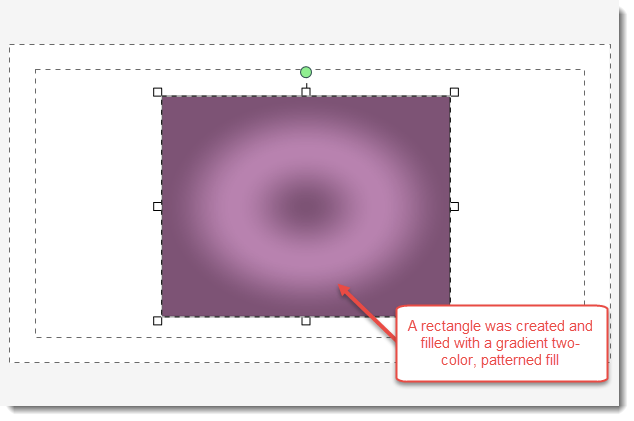
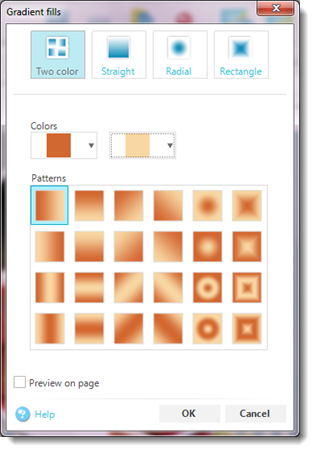
There are two types of fills that you can use on an element or shape; Gradientand Paper fills. Gradient fills will fill the object with two or more colors blended from one to another, in a simple pattern of your choosing:
Paper fills are a fun way to fill an element or shape with an existing image. They can add a very "designer" look to your projects. For example, a photo mat can be filled with a paper that coordinates with the theme.
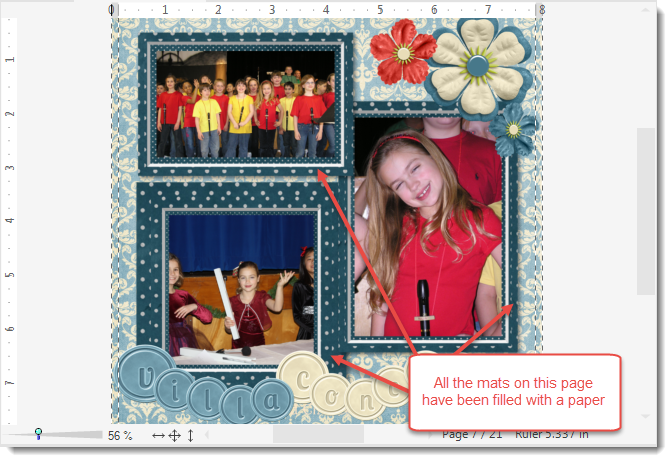
Like colors, paper fills can be grabbed from any of your art kits and added into your project as you go.
Note: The section Working with Content Manager has instructions and tips for organizing your art so you can find the look you want fast and easily.
How to Fill with a New Color
- Select the element in which you want to fill.
Note: Only simple images can be filled. If you try to fill a complex image, you will be prompted by Artisan to flatten the image. See Flattening an Image for more information.
- Click the Format ribbon tab, then click Color from the Fill section.
The Color Picker appears, listing the available colors.
- Scroll through the list of available colors and click the one you want.
The color is applied immediately—no need for a preview. - (Optional) Select other choices to see them applied to the element.
- Click OK once you are satisfied with the color.
How to Sample a Color
A powerful color option that you may find yourself using often is Color Sampling. This option allows you to copy a color from something on your page (e.g., photo, paper, embellishment) and make that color part of the project's palette. This takes the guesswork out of color matching. If only copying that powder room color that you loved from last spring's home show was so easy!
To sample a color from the page, follow these steps:
- Select the element containing the color you want to sample.
Note: Only simple images can be filled. If you try to fill a complex image, you will be prompted by Artisan to flatten the image. See Flattening an Image for more information.
- Click the Format ribbon tab, then click Color from the Fill section.
The Color Picker appears, listing the available colors.
- Click the Sample tool (eyedropper) and move the mouse around the image you want to copy.
As you pass over different colors, they are displayed in the sample box.
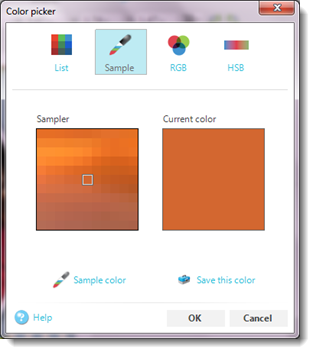
- Click on the color you want.
The color fills the Current Color box and the element on the page. - (Optional) If it's not quite the right color, click the Sample tool and repeat.
- Click OK.
The color is applied to the element and added to the project's palette.
How to Fill with a Gradient
- Select the element in which you want to fill.
Note: Only simple images can be filled. If you try to fill a complex image, you will be prompted by Artisan to flatten the image. See Flattening an Image for more information.
- Click the Format ribbon tab, then click Gradient from the Fill section.
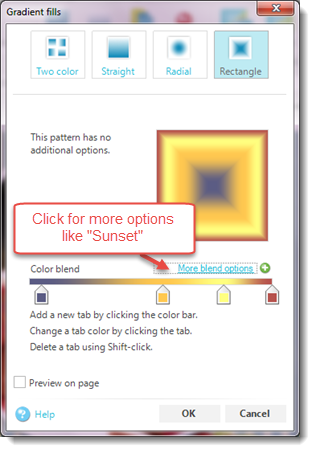
The Gradient dialog box appears, listing the available gradient options.

|
Option |
Description |
|---|---|
| Two Color |
Allows you to choose two colors to blend. Each color must be selected separately (click OK to select the second color).
|
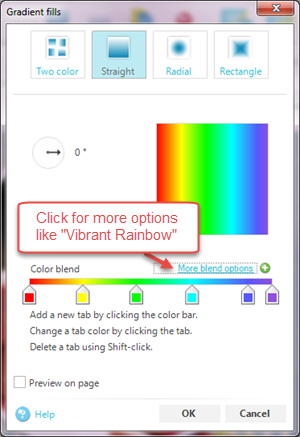
| Straight |
Allows you to choose two or more colors to blend in a straight pattern. Click the tabs on the slider to pick a color for each. You can also add new tabs. The More Blend Options allows you to choose from pre-designed blends.
|
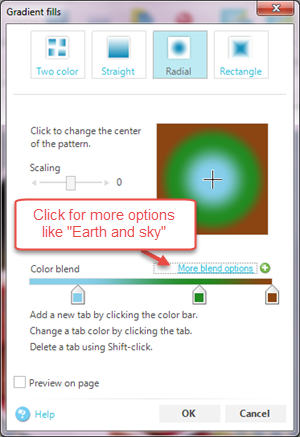
| Radial |
Allows you to choose two or more colors to blend from the center out in a circle pattern. Click the tabs on the slider to pick a color for each. You can also add new tabs. The More Blend Options allows you to choose from pre-designed blends.
|
| Rectangle |
Allows you to choose two or more colors to blend from the center out in a rectangle pattern. Click the tabs on the slider to pick a color for each. You can also add new tabs. The More Blend Options allows you to choose from pre-designed blends.
|


How to Fill with a Paper
A paper is an image file that will serve as the fill for the element you select. Images that contain just colors and patterns make the best paper fills.

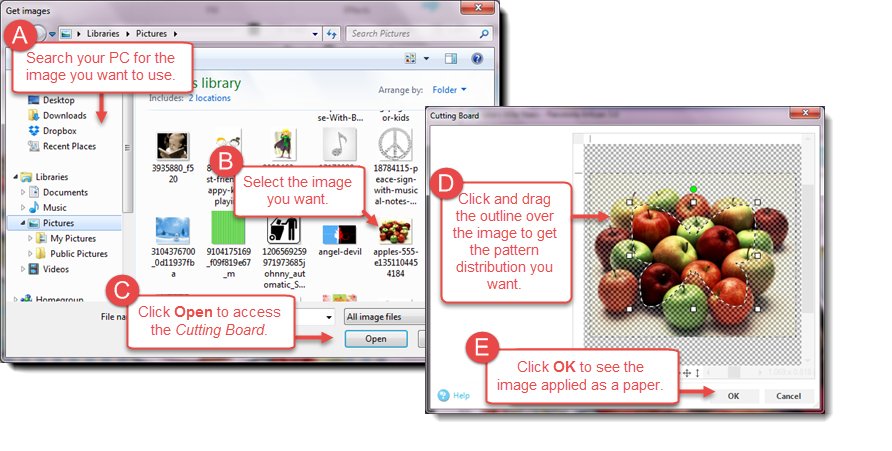
A collection of image files intended for use as papers will typically come with any art kits that you purchase. You can also import images into your project to use as papers, as Artisan allows you to use any type of image file as a paper—even a photo.
To fill your element with a paper, perform the following steps:
- Select the element in which you want to fill.
Note: Only simple images can be filled. If you try to fill a complex image, you will be prompted by Artisan to flatten the image. Flattening allows you to reduce the layers of two or more elements to a single layer for formatting purposes. Click Yes to flatten image. You can also flatten an image by Clicking the Home ribbon, and choosing Flatten from the Arrange section.
- Click the Format ribbon tab, then click Paper from the Fill section.
A drop-down menu appears.
|
Menu Option |
Description |
|---|---|
| From Art Kit |
Choose a paper that is bundled with one of your commercial or personal art kits. Think of the dialog box as similar to functionality as a File,Open dialog box in other Windows applications. You can search your Content Manager for the papers you have. See the Content Manager Overview section for more information on where and how papers are stored in Artisan.
|
| From My Computer |
Choose an image file stored on your computer.
|
| Paste | This menu choice is available if you have an image copied to the Clipboard. |
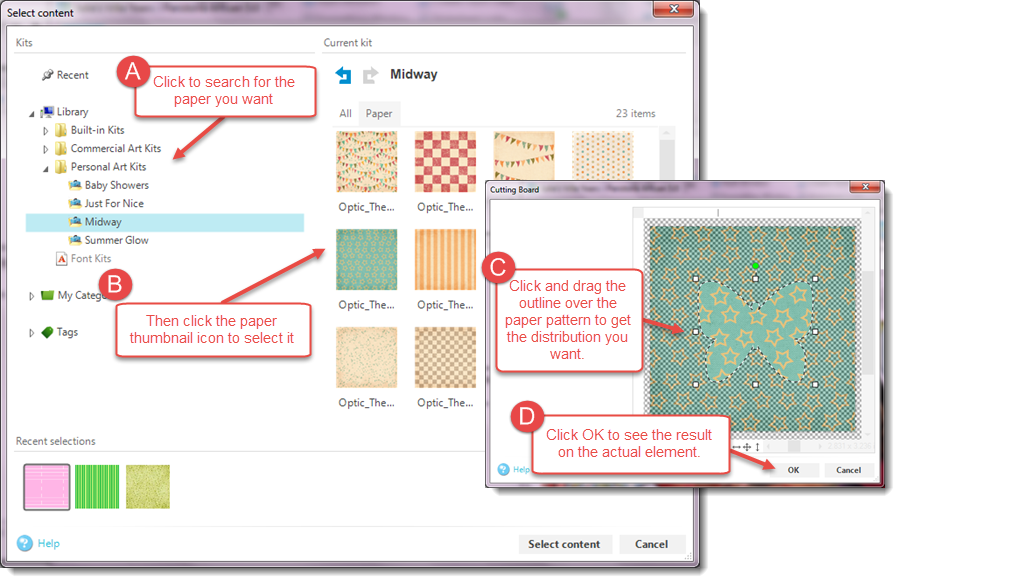
- Select the drop-down menu to search for the desired paper.
The paper fills the selected element on your page.
Note: For more information on browsing Content Manager or purchasing Art Kits from the store, see How to Create an Art Kit in the Content Manager section.